Install (Windows)
WSL2
Enable Windows Subsystem for Linux 2 (WSL2) and install the Ubuntu distribution.
Run PowerShell as administrator
Search for PowerShell from the Windows Start menu, right-click it, and click "Run as administrator".
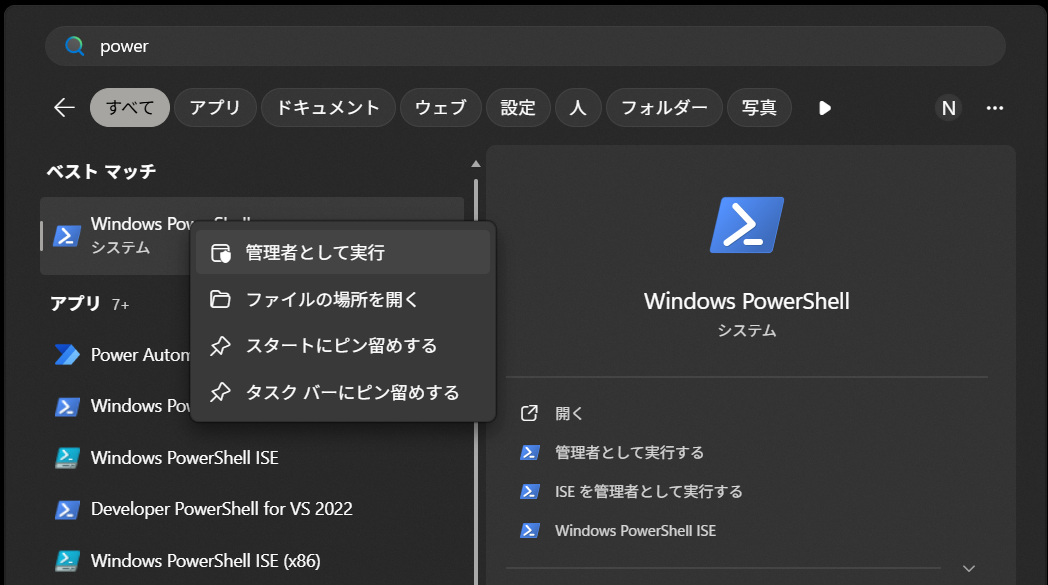
When the screen displays "Do you want to allow this app to make changes to your device?", select "Yes".
Install WSL2 and Ubuntu
Enter the following command to install WSL2 and the Ubuntu distribution.
When the installation finishes, restart the computer.
After restarting, launch Ubuntu from the Start menu and complete the initial setup (setting a UNIX username and password). Ubuntu is now running as the default distribution.
Note
This guide uses usbipd-win to attach the receiver's USB to WSL. Because usbipd attach --wsl requires an actual WSL2 distribution, Ubuntu must be installed separately from the Docker Desktop backend (docker-desktop) described later.
You can confirm that Ubuntu is running on WSL2 with the following command. Check that VERSION is 2.
This completes the installation of WSL2 and Ubuntu.
Docker Desktop
Install Docker Desktop and configure its backend.
Download Docker Desktop
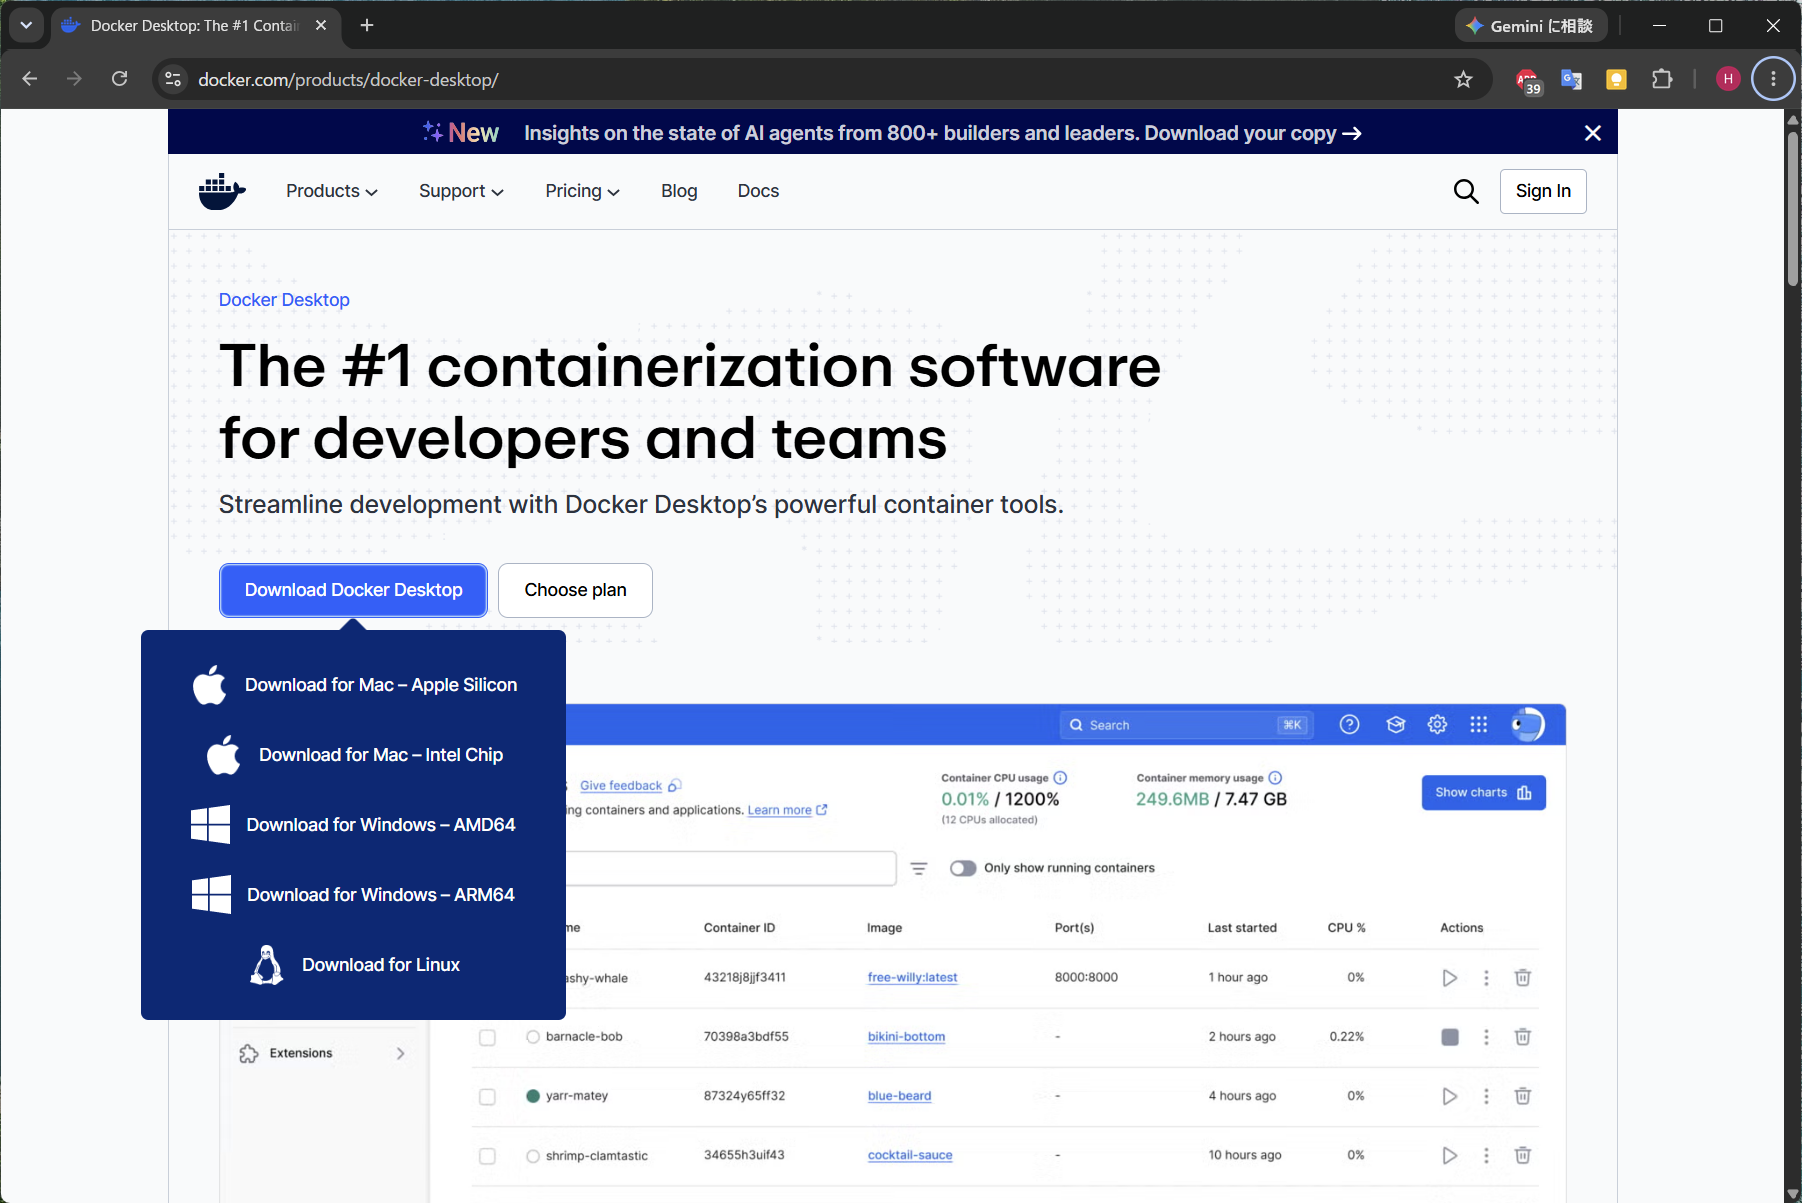
From https://www.docker.com/products/docker-desktop/, download Docker Desktop for Windows - AMD64.
Install Docker Desktop
Run the downloaded Docker Desktop Installer.
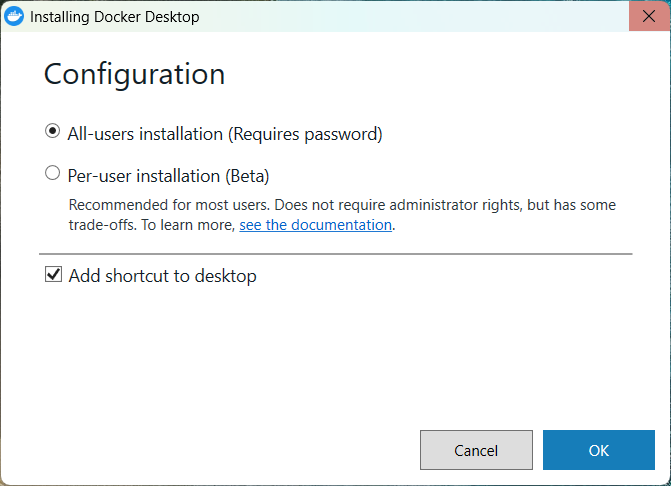
If needed, choose either All-users installation or Per-user installation. To create a shortcut on the desktop, check Add shortcut to desktop.
If you choose All-users installation, you will be prompted for administrator privileges. When the screen displays "Do you want to allow this app to make changes to your device?", select "Yes".
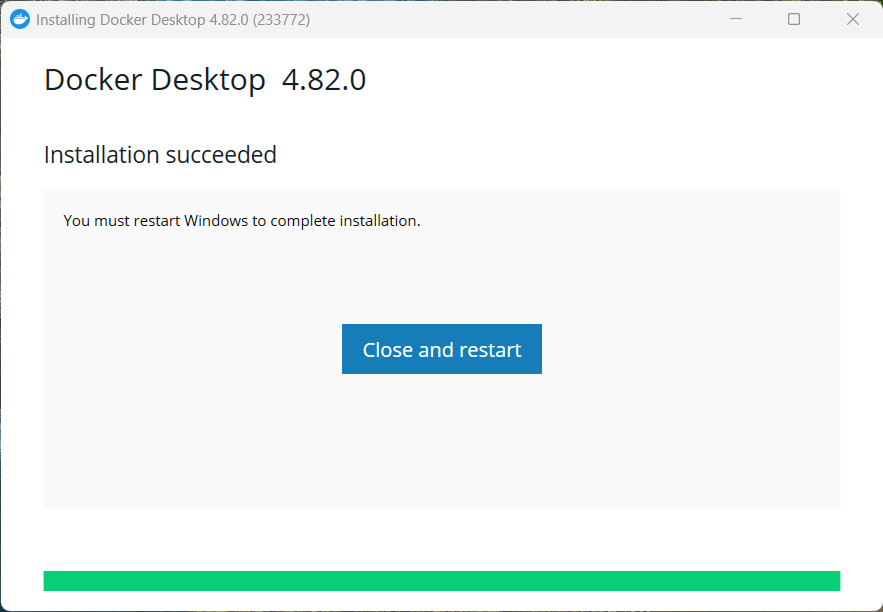
When the installation completes, the following screen is displayed; click Close and restart to restart the PC.
Launch Docker Desktop for the first time
After restarting, launch Docker Desktop.
Important
If the logged-in user and the administrator user are different, you must run Docker Desktop as administrator. See Run Docker Desktop as administrator.
On first launch, you are asked to agree to the subscription service agreement; review the content and click "Accept".

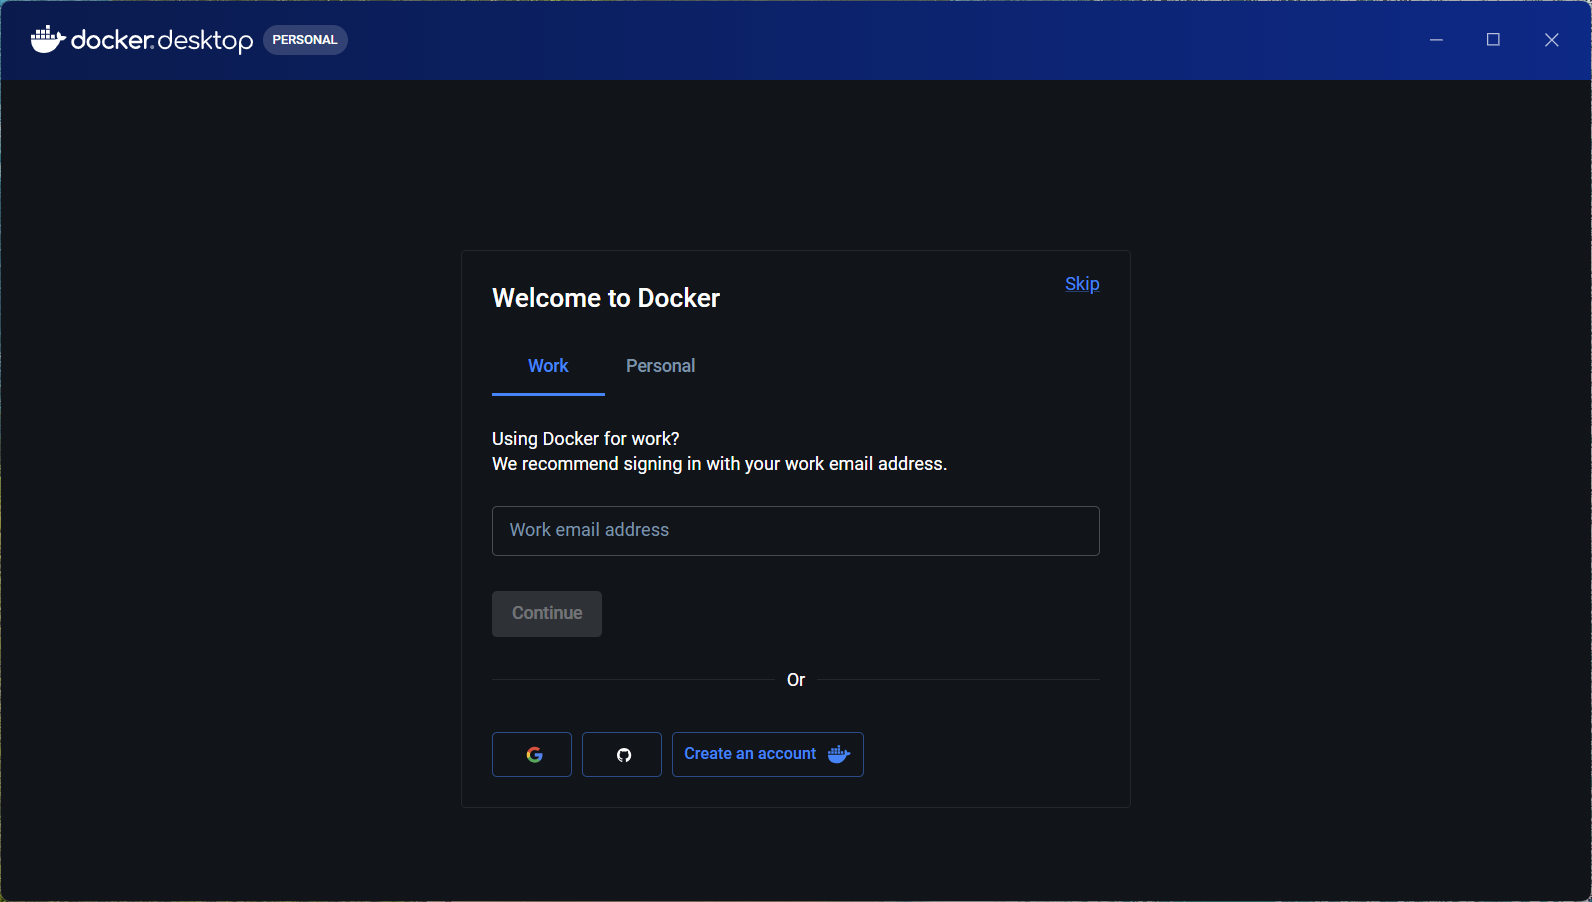
When Docker Desktop starts, the Welcome to Docker screen is displayed. Here, click Skip to skip it.
Configure the Docker Desktop backend
Configure Docker Desktop to use WSL2 as its backend.
Important
This guide attaches the receiver's USB to WSL2 with usbipd-win, and the container reads that device. If Docker Desktop is running on the Hyper-V backend, the container runs on a virtual machine separate from WSL2 and cannot see the device, so docker run will fail. This setting is required.
Enable the WSL2 backend
Launch Docker Desktop and open Settings from the gear icon in the upper right. Select General and check Use the WSL 2 based engine.
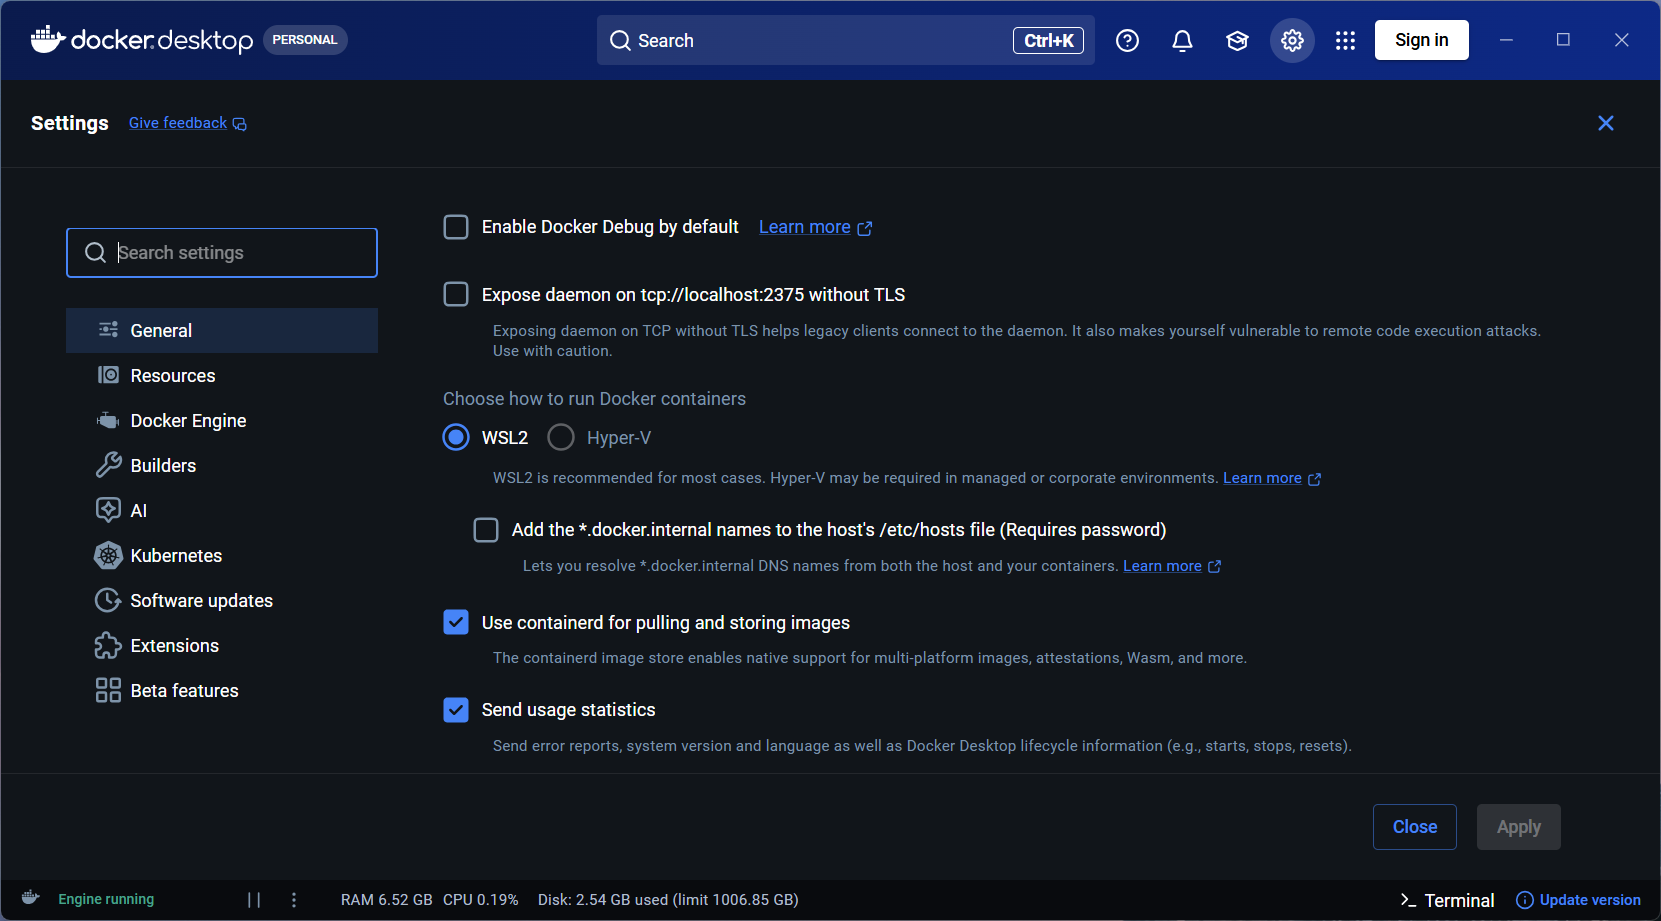
If you changed the setting, click Apply & restart in the lower right to restart Docker Desktop.
Enable WSL integration
Next, open Settings > Resources > WSL integration. Confirm that Enable integration with my default WSL distro is enabled, and turn on Ubuntu in the list.
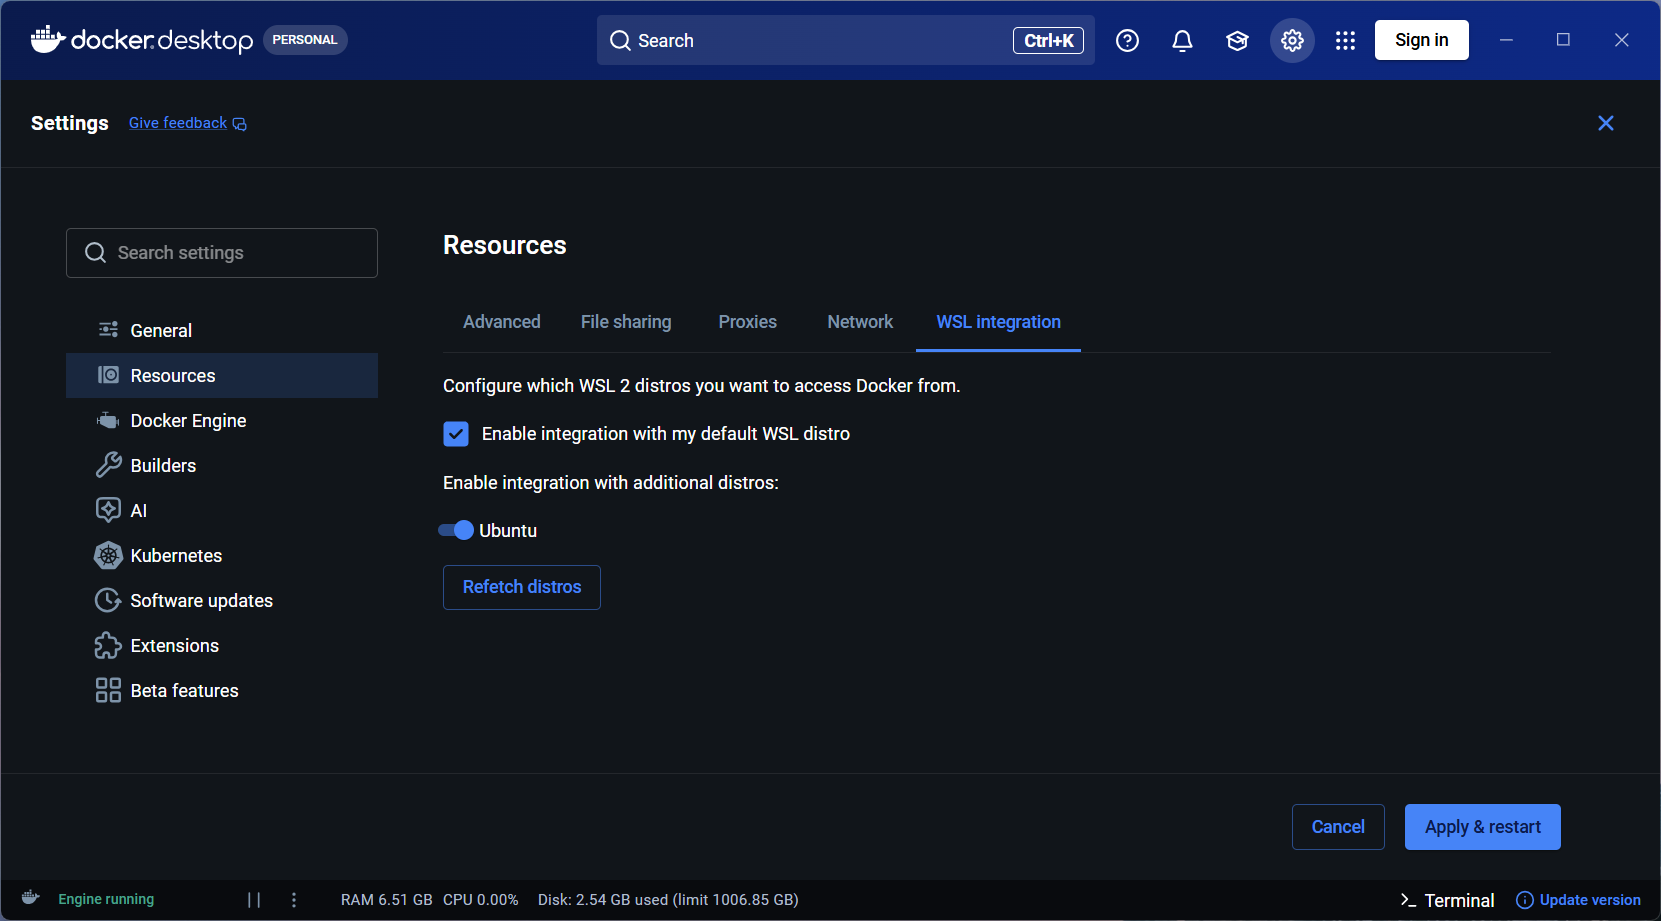
Click Apply & restart to restart Docker Desktop.
Verify the configuration
Run the following command in PowerShell.
If, as shown below, both Ubuntu and docker-desktop are listed with VERSION 2, the configuration is correct.
Note
If docker-desktop is not displayed, Docker Desktop is still running on the Hyper-V backend. Recheck the Use the WSL 2 based engine setting.
This completes the installation and backend configuration of Docker Desktop.
Install usbipd-win
Use the Windows Package Manager (winget) to install usbipd-win.
Note
If you omit --interactive, the computer may restart immediately.
This completes the installation of usbipd-win.
RxTools
Download RxTools
From https://www.septentrio.com/en/products/gps-gnss-receiver-software/rxtools#resources, download RxTools v26.1.0 Installer (Windows 64-bit).
Note
When downloading, you must enter the following information:
Email address, name, country, affiliation, industry
Install RxTools
Run the downloaded RxTools v26.1.0 Installer (Windows 64-bit) and follow the installer's prompts to proceed with the installation.
On the "Select Components" screen, leave everything checked and click "Next".
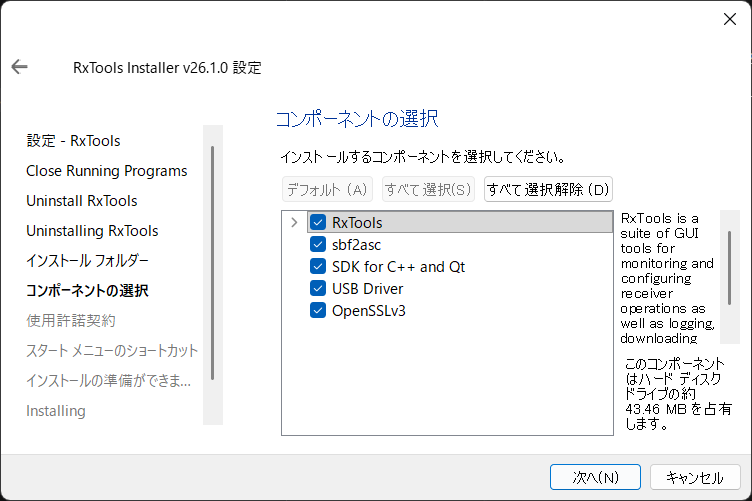
As you proceed, "Ready to Install" is displayed; click "Install".
When the screen displays "Do you want to allow this app to make changes to your device?", select "Yes".
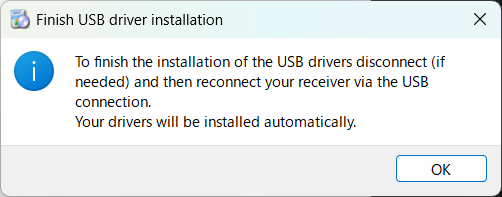
As the installation proceeds, the following popup is displayed; click "OK".
Note
In addition to the receiver configuration tool, the RxTools installer includes a USB Driver. This driver lets the receiver be recognized as a USB serial device.
The driver is installed automatically when the receiver is connected over USB.
This completes the installation of RxTools.
Next steps
- Go to Run (Windows)
- If it doesn't work → Troubleshooting